editimage
Interactive image display and manipulation is provided by editimage. This visualization tool has the flexibility to modify colormaps, perform image zooming, display pixel values, perform operations within a region of interest, and perform contrast enhancement procedures. In addition, it supports annotations, i.e., the user can add text, rectangles, circles and other markers to the displayed image.
The features provided by editimage include:
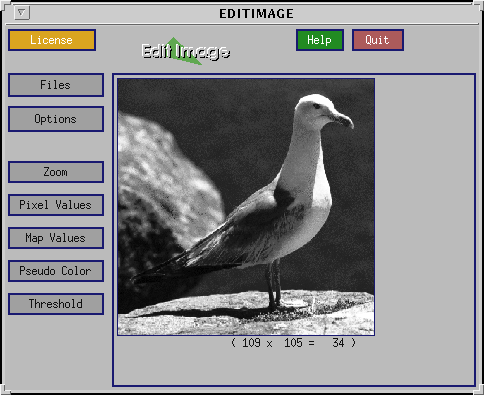
The master form of editimage displays the input image in a workspace. Above the workspace are "License", "Help", and "Quit" buttons, from which one may access the license agreement, display online help pages, and quit the program, respectively. To the left of the image workspace are two subform buttons labeled "Files" and "Options".
Use the "Files" subform button to display the "Input and Output Files" subform. From this subform, you may input a new file. You may also output the displayed image as it currently appears, either as an image file in one of the supported file formats, or as a screen dump.
A number of features are available from the "Options" subform, which contains seven panes: "Capture", "Image List", "Display", "Comment", "Colormaps", "Extract ROI", and "Function".
Beneath the "Options" subform button are five more subform buttons, each of which will display the relevant subform. The five subforms are: "Zoom", "Pixel Values", "Map Values", "pseudo Color", and "Threshold".
Executing editimage with the image "gull.viff" you will get
editimage
Accesing the "Files" subform
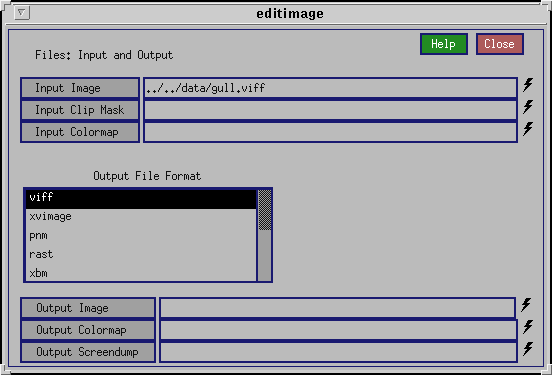
Files subform
The "Options" subform provides you with the following selections
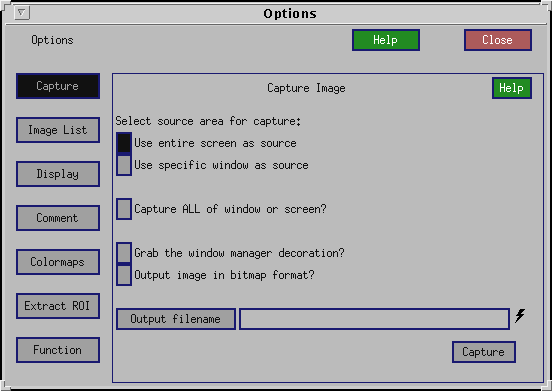
Options subform
We will use the "Zoom" selection to visualize a region around the eye of the gull.
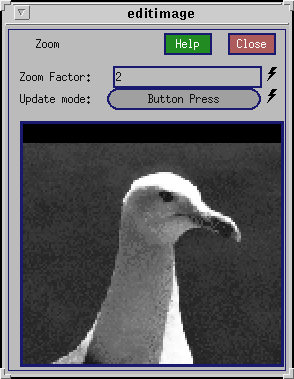
Zoom subform: region around the eye
We can actually see the value of each pixel by using the "Pixel Values" option.
![]()
Pixel Values subform: region around the eye
In order to look at color map values of the image we must first add a color map to our original monochrome image.
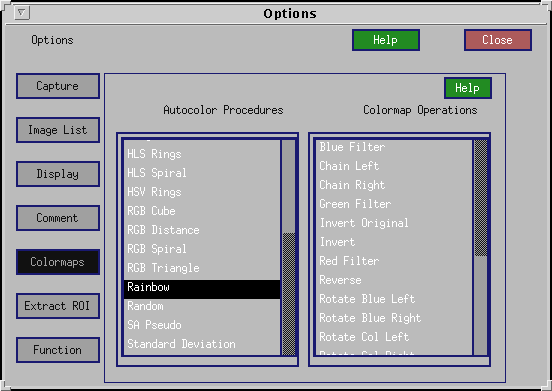
Options: Colormap selection
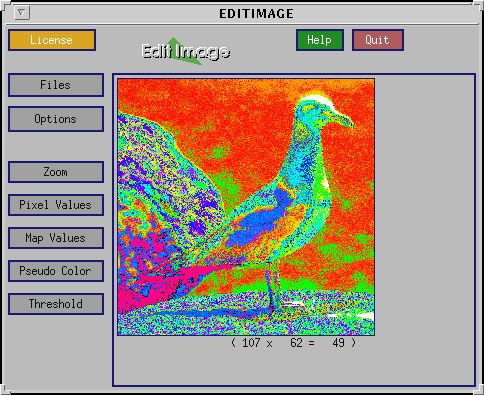
Original image with "Rainbow" colormap
We can also see the color map values.
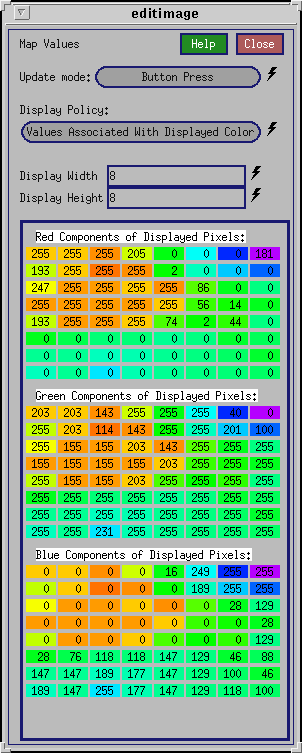
Map Values subform: region around the eye
You can add your own color to an image or modify existing color maps by selecting the "Pseudo Color" subform. If we select this option with the monochrome image shown above, the interactive tool displayed is shown below
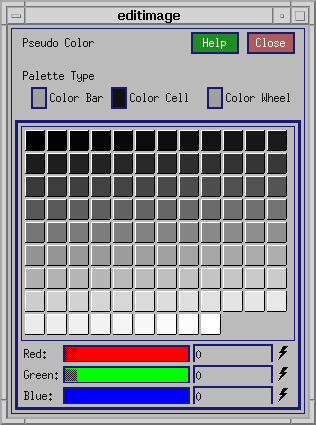
Pseudo Color subform
Interactive thresholding and pixel clipping operations can also be performed on an image. Select the "Threshold" subform to access this tool. The interactive capability is shown below when the image is the monochrome gull.
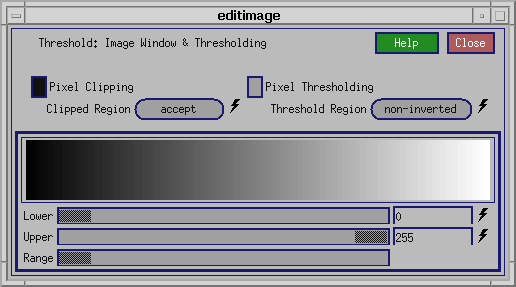
Threshold subform
Another very important and useful capability is the extraction of Region(s) of Interest (ROIs). Shown below is the form for the "Extract RIO" selection under the "Options" subform. Also shown below the ROI extracted from our original image.
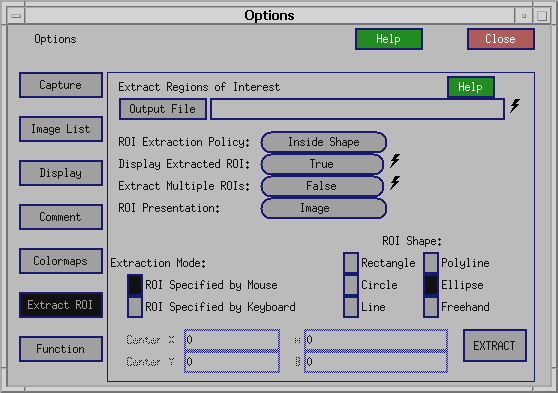
Extract ROI form
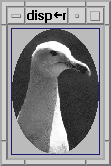
ROI of original image
editimage can be executed from within cantata, or directly from the command line. To interactively display an image from the command line user interface (CLUI) type:
editimage -i image.filename
If you wish to use the Graphical User Interface then type:
editimage -gui
and wait till you see the graphical user interface. Now type
the image filename in the "Input Image" box.
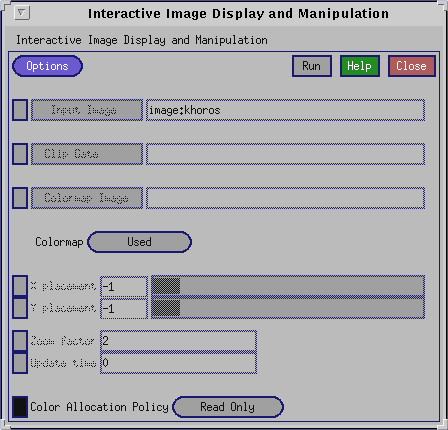
GUI for editimage
If you are interested in executing editimage with the image displayed above then click HERE